Appearance
Getting Started
This guide walks you through creating your first patch in MNodes.
Quick Start
1. Install MNodes
Download MNodes from marionietoworld.com/mnodes and run the installer. See Installation for details.
2. Open MNodes
Launch MNodes standalone, or load it as a plugin in your DAW:
- As an Instrument: Insert MNodes on a MIDI/instrument track to build synthesizers and instruments that receive MIDI and output audio
- As an FX: Insert MNodes on an audio track to process incoming audio through your node graph
- As a MIDI FX (Logic Pro only): Insert MNodes as a MIDI effect to process and transform MIDI data
- Standalone: Launch MNodes directly without a DAW: all audio and MIDI I/O is available
3. Create Your First Patch
- Right-click on the canvas to open the Node Palette
- Search for "Sine" and click to add it
- Add a Gain node the same way
- Add an Audio Out node
- Connect: Sine → Gain → Audio Out
- Move the Gain control to change the volume
You should hear a sine tone. Congratulations, that's your first MNodes patch!
Experiment
Try moving the Freq parameter on the Sine node and notice how the pitch changes. You can also try other oscillators like Saw or Rect: create them from the Node Palette and swap them in place of the Sine.
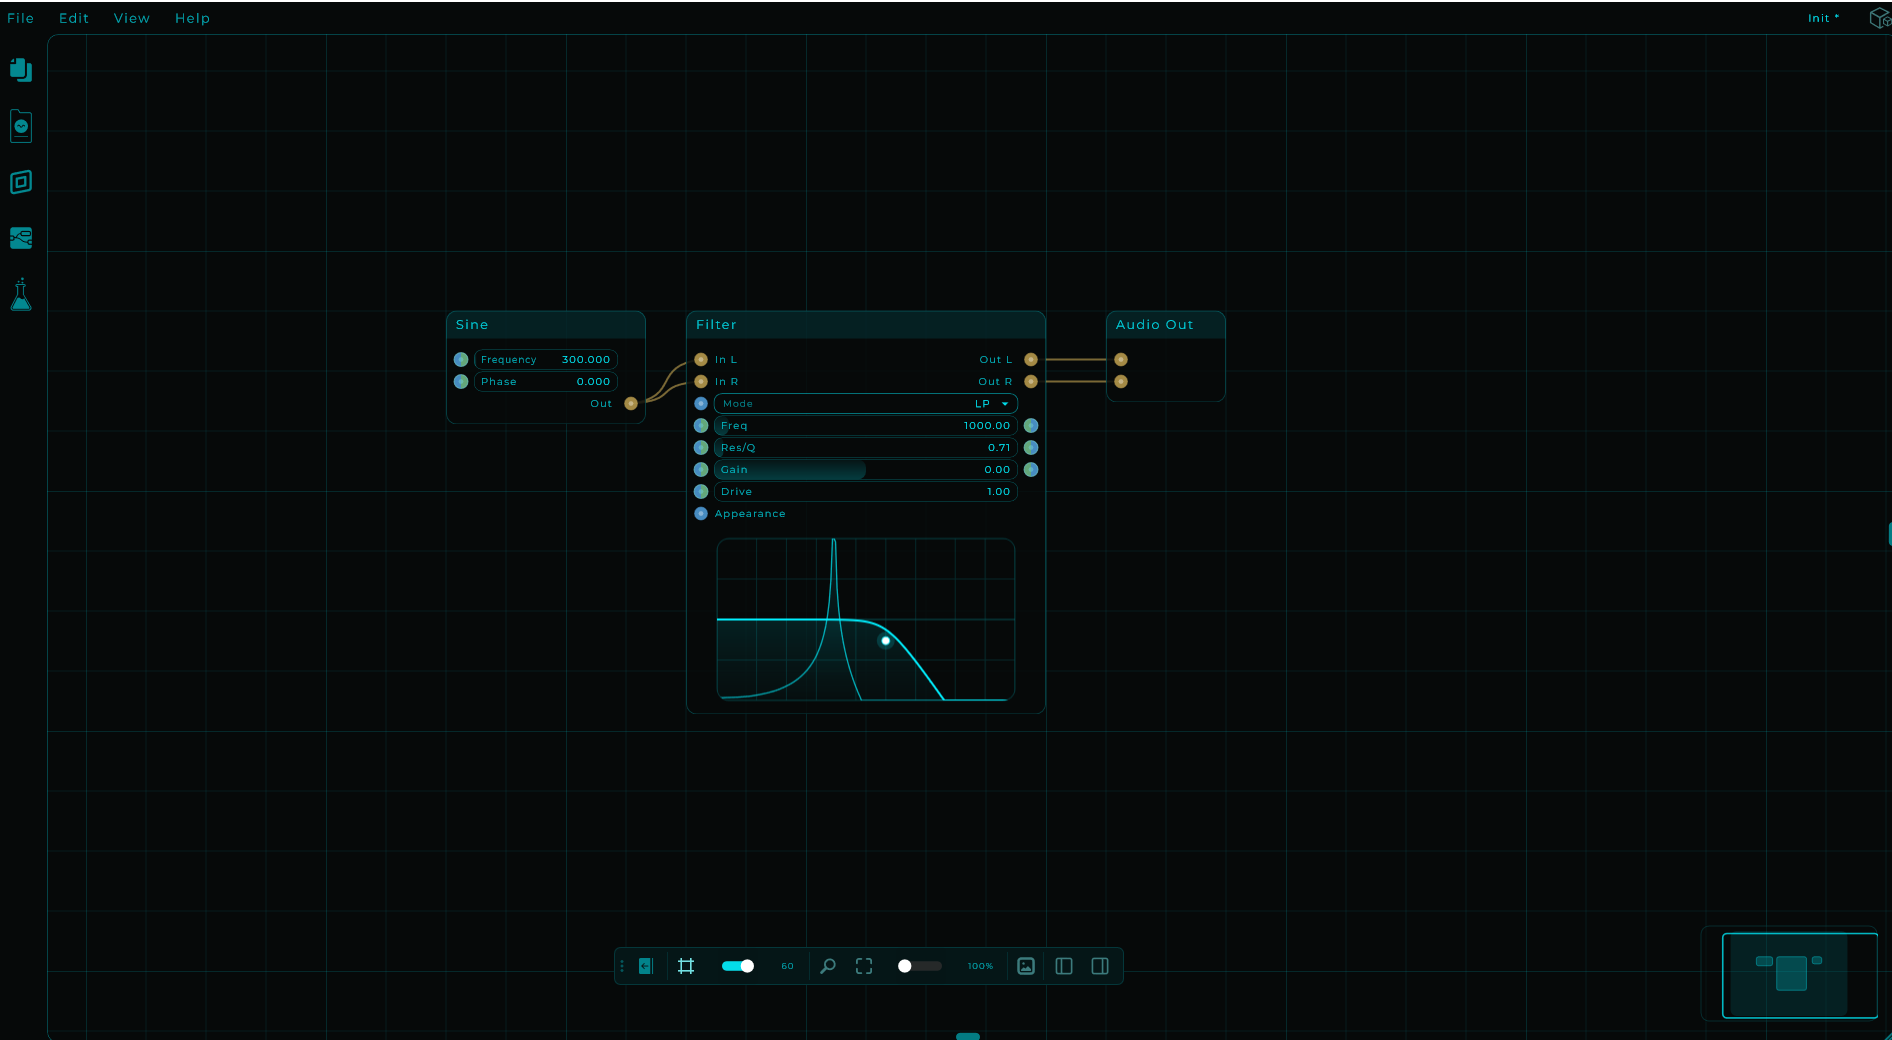
4. Add Some Character
Let's shape the sound with a filter:
- Add a Filter node from the Node Palette
- Disconnect the Sine from the Gain and reconnect: Sine → Filter → Gain → Audio Out
- Move the Cutoff parameter on the Filter: notice how it changes the brightness of the sound
- Try adjusting the Resonance to add emphasis around the cutoff frequency
- Change the filter type (LP, HP, BP, Notch) and hear the difference
Now you have a basic subtractive patch with tone shaping!
5. Save Your Work
Go to File → Save Preset to save your patch as a .mnprt file.
Next Steps
- The Interface:learn the workspace layout
- Working with Nodes:add, configure, and manage nodes
- Connections & Wiring:understand signal types and routing
- Node Reference:browse all 230+ available nodes