
Appearance
Poly Modules
A Poly Module is a polyphonic version of a Module. You build a single voice once: oscillator, filter, envelope, whatever you want. MNodes then runs many copies of that voice in parallel so several notes can play at the same time.
Why a Poly Module?
A normal Module groups whatever processing you put inside; it does not automatically allocate a separate copy of your voice graph to each note. A single oscillator-and-envelope voice therefore needs a Poly Module to play several independently articulated notes. A regular Module can still contain nodes or instruments that already provide their own polyphony.
Poly Module solves that without you having to clone anything. You design one voice. MNodes does the rest.
Polyphony in plain words
Picture a synth with eight little machines lined up inside it. Each machine can play a single note. When you press C, the first free machine grabs C and plays. Press E on top, the next machine grabs E. Both notes sound together. Release C, that machine goes quiet. Release E, the second machine goes quiet too.
A Poly Module is exactly that. Each "machine" is a copy of the voice graph you built. You decide how many machines (voices) to keep ready.
Creating a Poly Module
- Open the Node Browser and find Poly Module under the Subgraph category.
- Drag it onto the graph (or double-click).
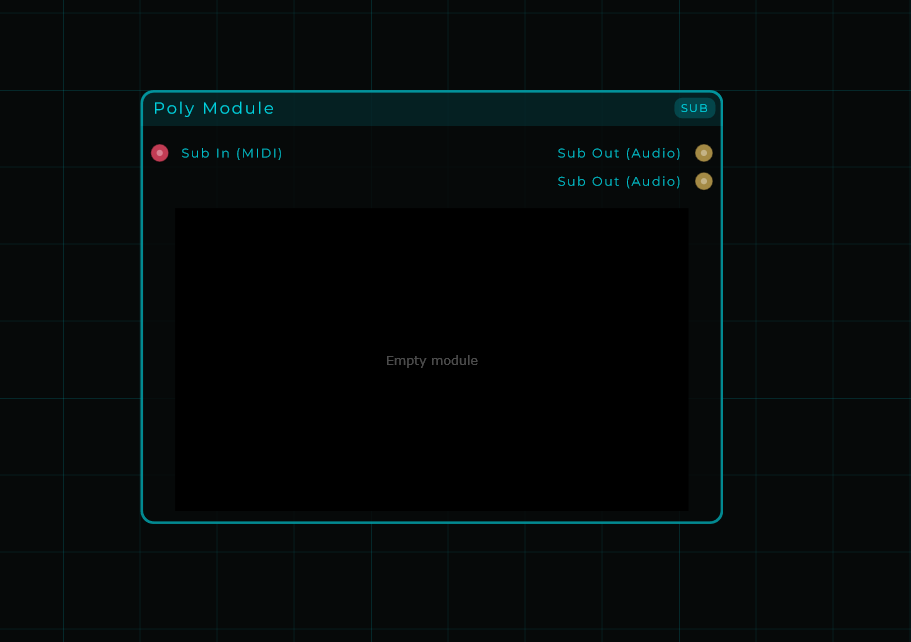
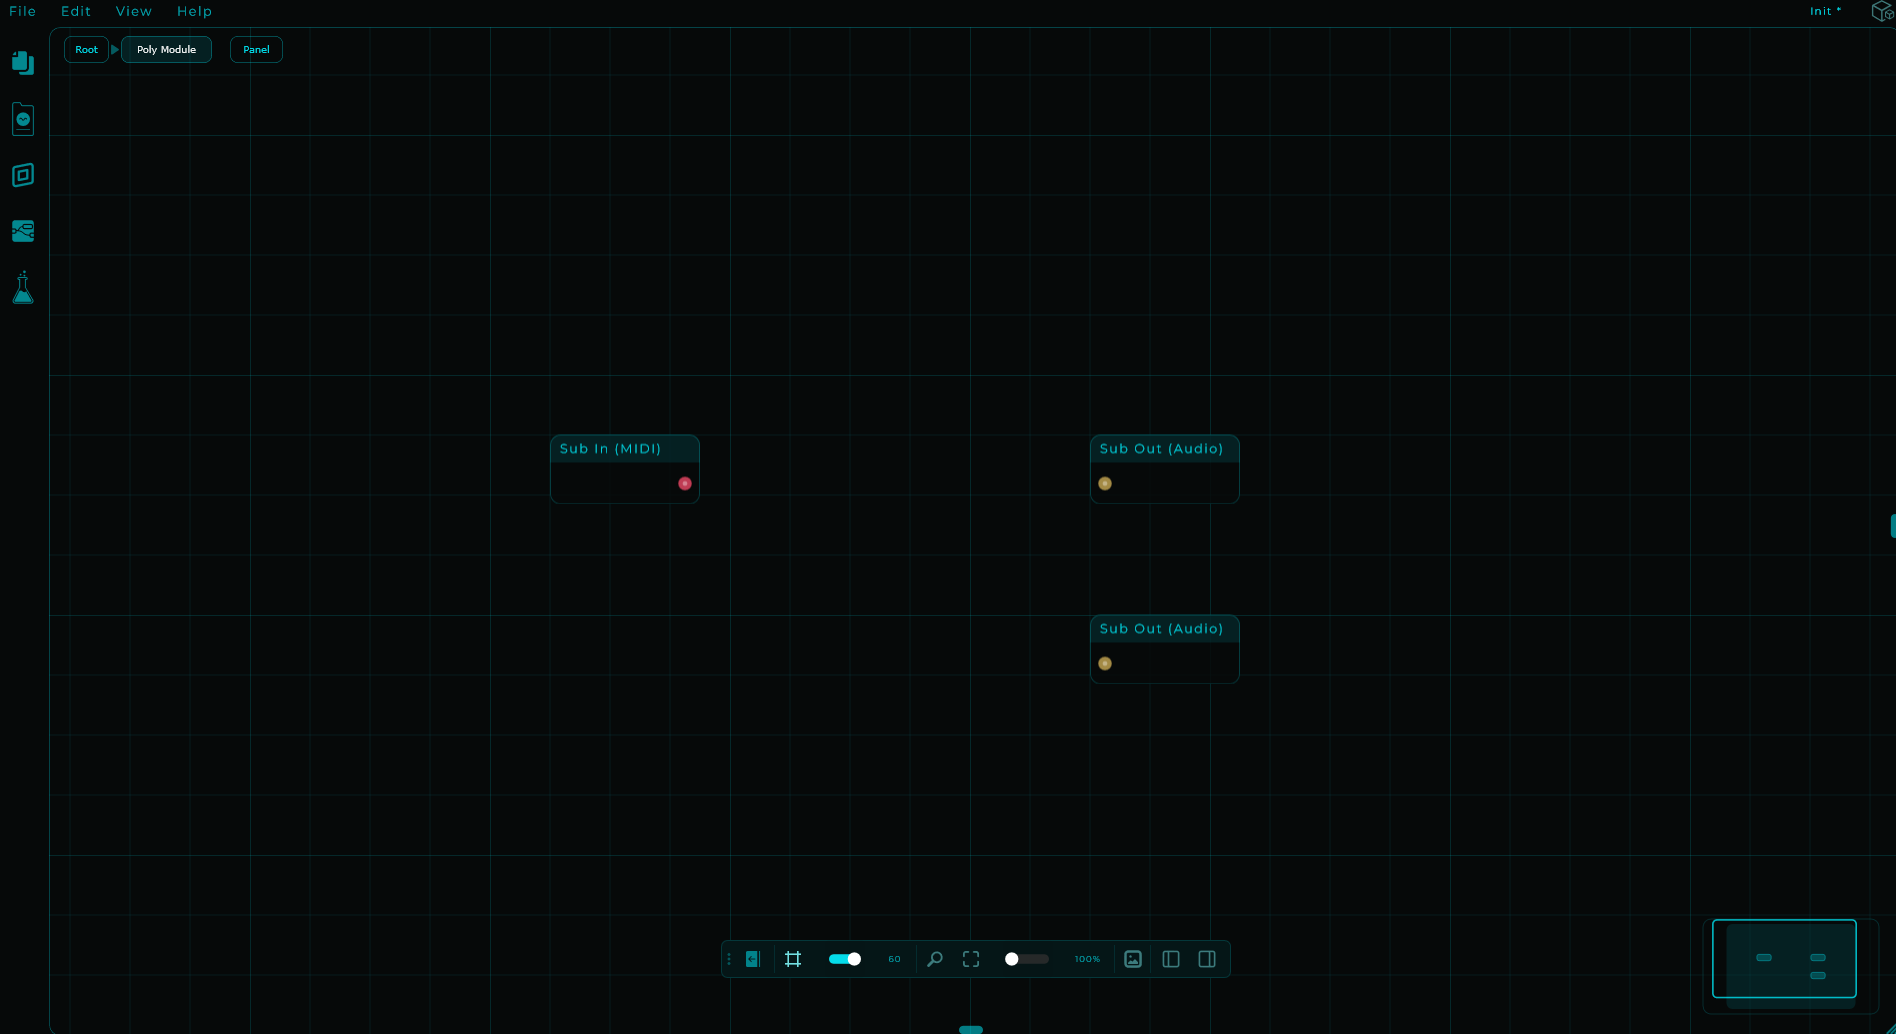
- The new Poly Module already has the basics wired up inside: a Sub In (MIDI) on the left and two Sub Out (Audio) on the right (one for L, one for R).
- Double-click the Poly Module to enter it and start building your voice.
TIP
Don't want to build the voice yourself? The Lab can generate a complete playable instrument for you: set Patch Type to Instrument and Generate creates a Poly Module with a full voice inside, wired to MIDI In, an on-screen keyboard and effects. See The Lab.
Building the voice
Inside a Poly Module you build one voice. Treat it like any other patch: drop an oscillator, a filter, an envelope, wire them up, route to the audio outputs.
Build the small voice shown below:
- Sub In (MIDI) → MIDI To CV to convert incoming MIDI notes to pitch and gate signals.
- MIDI To CV — Note Hz → Sine — Frequency; Gate → Envelope — Gate.
- Sine — Out → Sig Multiply — A; Envelope — Out → Sig Multiply — B. Use the Envelope's audio Out here: multiplying the tone by its 0–1 envelope makes each note rise and fade.
- Sig Multiply — Out → the two Sub Out (Audio) nodes. Outside the Poly Module, connect MIDI In to its MIDI input and its audio outputs to Audio Out.
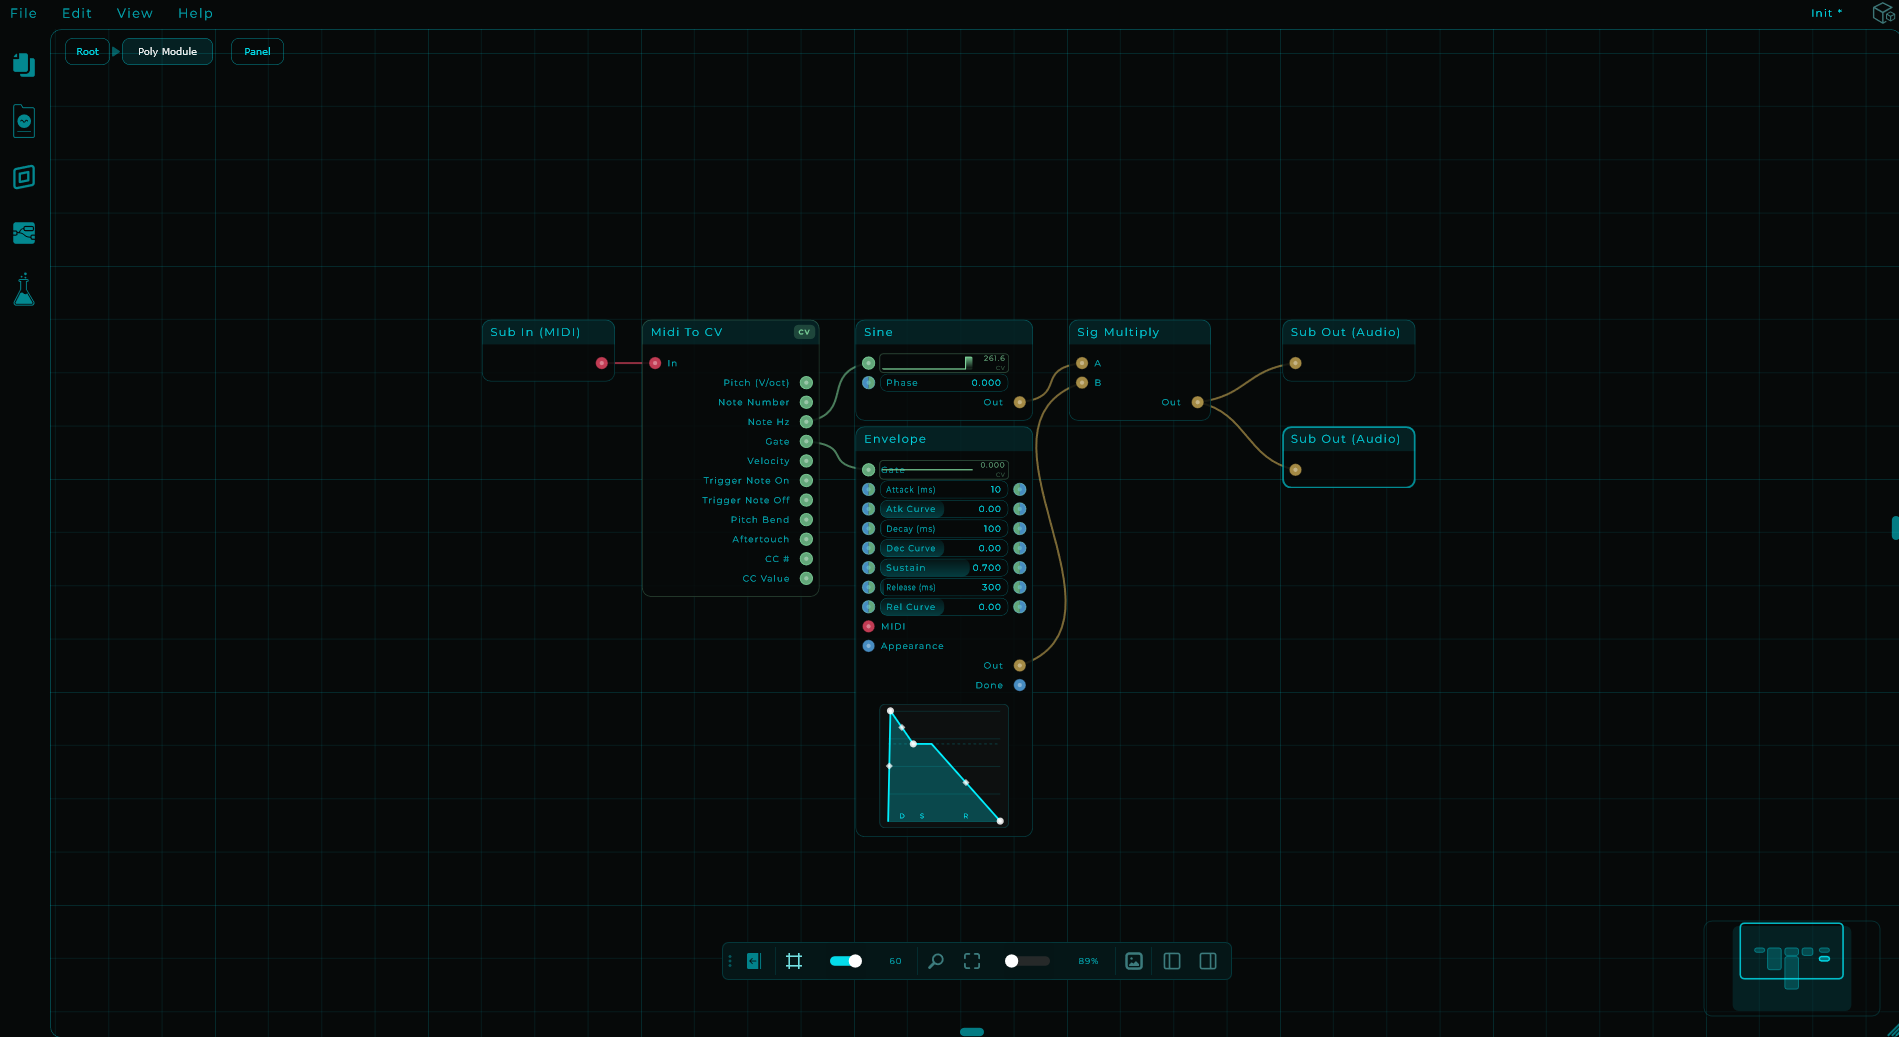
When you play a chord, every voice runs this same patch. The MIDI To CV inside each voice receives only the note that voice is responsible for, so each voice plays a different pitch.
What goes inside, what goes outside
Think of a Poly Module as one voice: its audio and CV processing have separate state for each voice, while its Data controls are shared. So for any node the question is simple: is this per note, or for the whole sound?
Inside the poly go the parts that belong to a single note: the oscillators, the voice's filter, the envelopes, the distortion that shapes the tone. Whatever happens per key.
Outside the poly go the parts that belong to the whole patch: reverb, delay, chorus, EQ, master volume and feedback. Whatever is shared by every note, not owned by one.
Why it matters:
CPU. Audio and CV processing inside runs per voice. Put a shared reverb after the Poly Module; put it inside only when each note needs its own reverb treatment.
Control. A widget inside is a shared Data control, so its value reaches all voices. Use per-voice CV sources, such as Voice Velocity, when each note needs a different value.
Troubleshooting. When something sounds off, keeping the voice, the effects and the mix in separate boxes lets you find it in seconds.
Virtual wires. This one catches people out, because it looks like it works. Audio Send and Audio Receive are project-wide: a name is the same wire everywhere in the patch. Put a Send inside the voice and every voice pours into that one wire, so whatever receives it hears all of them added together instead of one, and the level climbs with the number of voices you are holding. When you want a wire that belongs to a single voice, use Audio Sub Send and Audio Sub Receive instead: they keep the name local to the patch they live in, so each voice gets its own. CV and Data have the same pair.
Data is shared, audio and CV are per voice. Every voice runs its own copy of the audio and CV nodes inside, each with its own state: a Random CV, a noise generator or a Sample and Hold rolls its own numbers in every voice. Data nodes are not copied: the whole module has one Data graph, so a Random Float fired by a button gives every voice the same number, and a widget is one control for all the voices. To roll per voice, do it in CV: fire the random with a CV trigger, or use CV Random Trig. A Module, a Subgraph or a Parallel Module nested inside the voice is copied per voice as well, each copy with its own state.
Rule of thumb: if it is per note, put it inside. If it is for the whole patch, put it outside.
Voices: how many copies to run
The Voices parameter in the inspector sets how many copies of your voice run in parallel. Range: 1 to 16.
- More voices = bigger chords without note stealing, but more CPU.
- Fewer voices = lighter on CPU; if you press more notes than voices, the oldest voice gets stolen for the new note.
- 1 voice = monophonic. Useful for bass, leads, and classic mono synths.
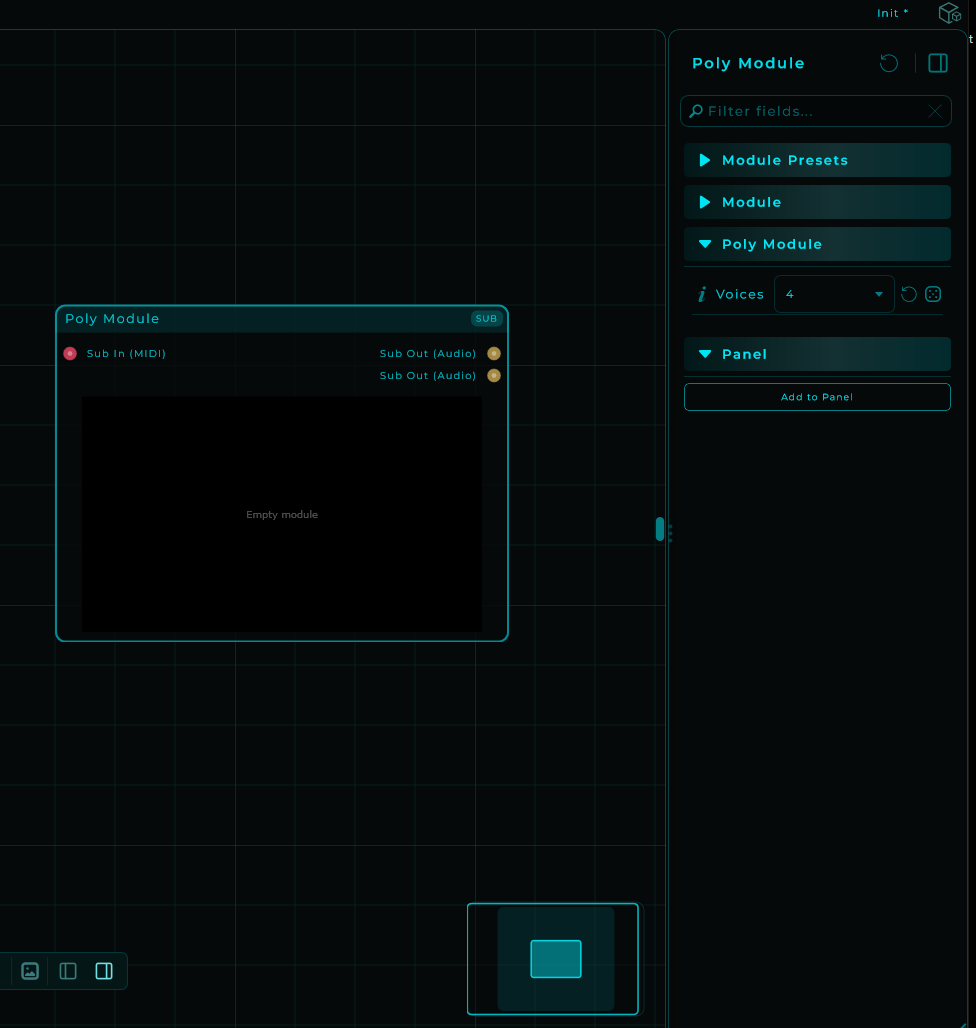
Changing the Voices count rebuilds the audio engine for the Poly Module, so you'll hear a brief moment of silence when the new voice graph takes over.
Setting Voices from the patch
Voices is also a pin, so the count can come from the patch instead of the inspector: a knob on the front panel, or a preset that loads a lighter voice count on a slower machine. It is clamped to the same 1 to 16, and it still rebuilds the engine, so it is a control to set between parts rather than one to sweep while playing.
Next to it is a MIDI Panic pin. An event there lifts every note in every voice at once, which is the thing to reach for when a note-off went missing and something is stuck on.
Poly Modules have the Show Panel pin too, and it works exactly as it does on a Module: one window for the module, showing the panel every voice shares, not one window per voice.
Unison: a Parallel Module inside the voice
Every note plays one voice. For a unison, where every note plays several copies of a sound at once, put a Parallel Module inside the voice: set its Copies to 3 and every note plays three copies of what is built inside it. Bring what the copies need, the voice's pitch for instance, in through the Parallel Module's inputs.
On their own, three copies of the same sound just sound louder. The point is to make them differ, and the Voice Stack node inside the Parallel Module is what tells each copy which one it is: Index (0, 1, 2), Size (3) and Spread, which hands out values evenly from -1 to +1 across the copies (two copies get -1 and +1, three get -1, 0 and +1). Multiply Spread by a few cents into a CV Detune on the pitch path and you have a detuned unison; send it to a pan position and the copies spread across the stereo field. The rest of the voice, its envelope or its filter, stays one per note, so you choose exactly which part of the voice is multiplied.
Seeing the voices
Select the Poly Module and open the Voices section of the Inspector: one row per voice, live, under column titles. Each row gives the voice's number (from 0, as Voice Index counts), the note it plays and its state, held, pedal, release or idle, with one colour per note, so you can watch a chord take its voices and a new note steal the oldest one. With no MIDI connected the rows are copies instead: the copy's number, whether it is active or idle, and the Spread the Voice Stack node gives it, as a dot on a bar from -1 to +1. A Parallel Module shows the same thing in a section called Copies.
Copies of an effect
A Poly Module with no MIDI connected plays no notes, so it does something else: every voice runs all the time on the audio and CV coming in, and the outputs are added up. Set Voices to 4, build a chorus inside, and you have four choruses at once. Voice Stack works here too, with the whole module as the stack: Index is the voice number, Size is Voices and Spread runs from -1 to +1 across them, so send Spread to the chorus rate and the four copies drift at different speeds. Voices is the number of copies.
A voice can sleep while its input and output are silent and wake when signal arrives, reducing idle processing. Plug MIDI in and the module plays notes again. If you keep the Sub In (MIDI) inside but leave it unplugged, the module still works as an effect and shows a badge to say so; remove the Sub In (MIDI) if an effect is what you meant.
There is a node ready for this: Parallel Module, next to Poly Module in the browser. It is the same module with two audio inputs and two audio outputs inside from the start and no MIDI, so it runs as copies of an effect the moment you drop it. Put one inside the voice of a Poly Module for unison, or add a Sub In (MIDI) inside and it plays notes like a Poly Module.
Note Priority (1-voice mode only)
When Voices = 1, a second parameter appears in the inspector: Note Priority. It controls how the single voice behaves when you hold more than one note at the same time. With more than one voice this parameter is hidden because it has no effect.
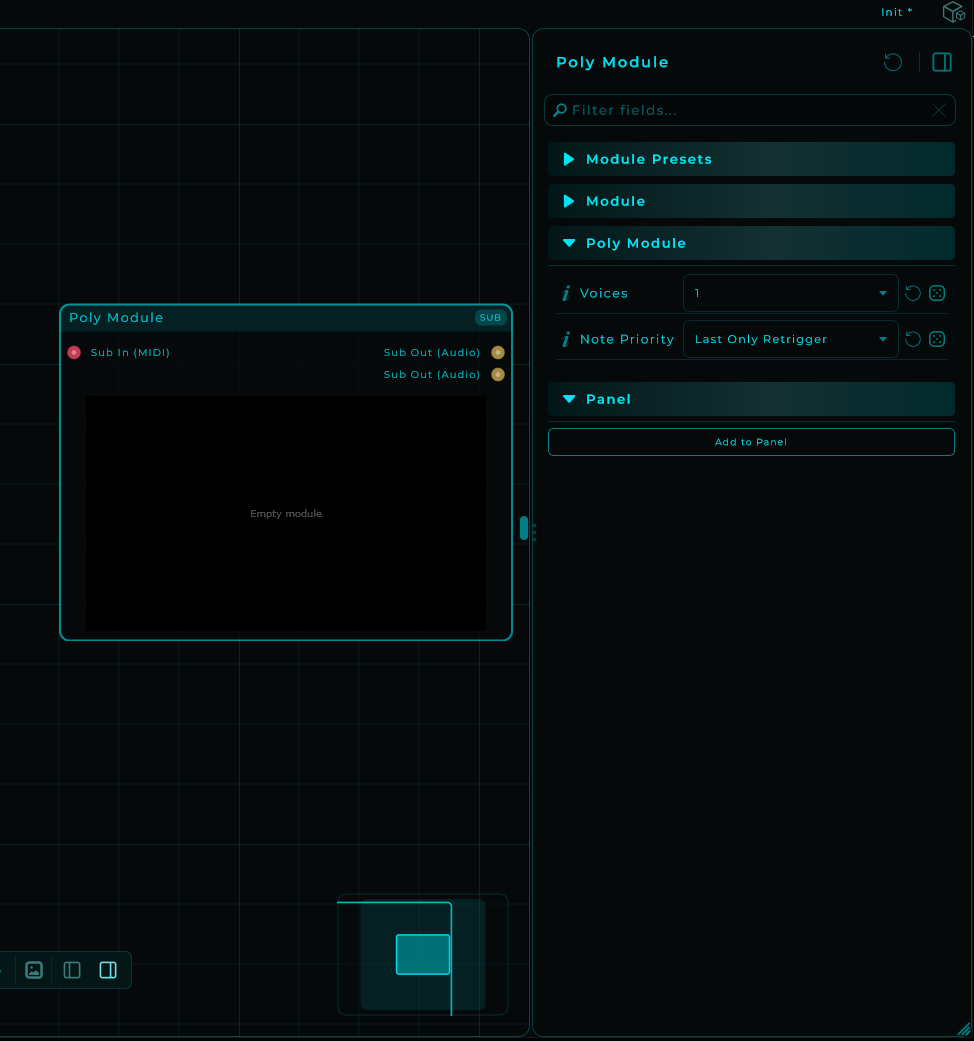
Last Only Retrigger (default)
Each new note silences the previous one. When you release the latest note, the voice goes silent even if older notes are still physically held.
Example:
- Press C, you hear C.
- Press E (still holding C), you hear E (envelope retriggers).
- Release E (still holding C), silence.
This is the simplest mono synth feel.
Stack Retrigger
Held notes are kept on a stack. The latest press is always on top and is what you hear. Release the top note and the voice falls back to the previous note in the stack and retriggers.
Example:
- Press C, you hear C.
- Press E (still holding C), you hear E (retriggers).
- Press G (still holding C and E), you hear G (retriggers).
- Release G, you hear E again (retriggers).
- Release E, you hear C again (retriggers).
- Release C, silence.
This is the classic "play-all-the-keys-at-once" mono synth behaviour you find on vintage hardware. Great for fluid bass lines and lead phrasing where you want the previous note to come back when the new one is lifted.
Pseudo nodes for per-voice signals
Inside a Poly Module you'll find six special nodes under the PolyVoice category in the Node Browser. They give you access to per-voice signals without going through Sub In (MIDI) and MIDI To CV.
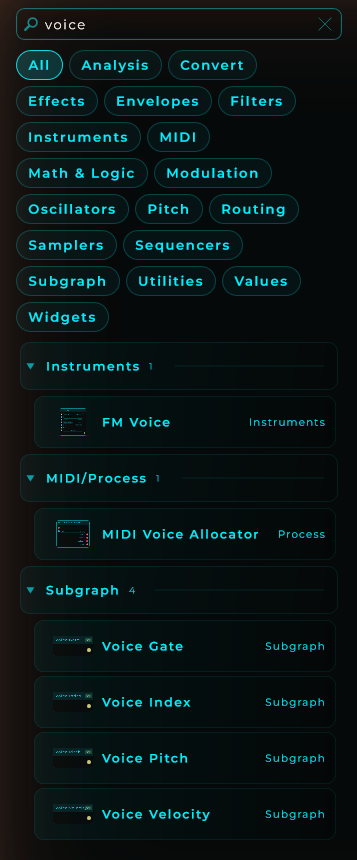
| Node | What it outputs |
|---|---|
| Voice Pitch | The MIDI note number assigned to this voice (e.g. 60 for middle C) |
| Voice Gate | 1 while the voice is active, 0 once released |
| Voice Velocity | The note-on velocity, normalised 0 to 1 |
| Voice Index | The position of this voice in the pool (0, 1, 2…). Useful for detuning or subtle per-voice variations |
| Voice Stack | Which copy this is in a Parallel Module, or in a Poly Module with no MIDI: Index, Size and a Spread from -1 to +1. The thing to detune or pan a unison by. The node shows its live numbers, for the module's first voice |
| Poly Voices | Module-wide counts and edges: how many voices are sounding (First/Last Events when the module starts and stops sounding) and how many keys are held, sustain pedal included (First Key/Last Key Events when the first key goes down and the last one is released), plus Last Voice, the number of the voice the latest note went to |
The first five are per-voice: each voice sees its own value. Poly Voices is the odd one out: it reports on the module as a whole, and every voice sees the same numbers. Use it to drive shared behaviour: start a common envelope on First Key and release it on Last Key, reset something once everything fades out with Last, or check "is exactly one voice playing?" with an If node on its Voices count. Its Last Voice is also the way to know, from outside the module, which voice the newest note went to: a Voice Index brought out through a CV Sub Out is the sum of all the sounding voices' numbers, because the module adds its voices together.
These nodes are convenient when you want a quick voice without needing a full MIDI To CV chain. They reflect the same data the bridge uses internally to route notes.
CPU: idle voices can sleep
Silent voices can sleep instead of processing the full voice continuously. A new note wakes its voice; long releases and effects tails can keep voices active.
Choose enough voices for your playing style, then check CPU with a dense chord and the longest release you intend to use. Increasing Voices can still increase memory and peak processing needs.
Glide / portamento
Poly Module has no glide parameter on purpose. If you want pitch glide between notes, drop a Smooth node inside the voice between your pitch source (MIDI To CV's Note Hz, or Voice Pitch) and the oscillator's frequency input. You then control the slide time on the Smooth node directly, and you can even modulate it.
This approach is more flexible than a fixed Glide knob: you can pick the curve, sync it to tempo, automate it, or feed multiple smoothed pitches into different oscillators with different glide times.
What happens with more notes than voices
If you press more notes than the Voices parameter allows, the oldest currently-playing voice is stolen and reused for the new note. The previous note or its release tail ends when that voice is reused.
If you regularly run out of voices, raise the Voices count.
Saving your voice as a reusable Poly Module
Just like a regular Module, you can save the whole Poly Module to disk:
- Right-click the Poly Module on the graph.
- Select Save As Module….
- Fill in name, category, author, description, save.
The saved file (.mnmod) carries the inner voice graph, the Voices count and the Note Priority value. Drop it back onto another patch from the Node Browser to reuse the whole instrument.
Module Presets work the same as Modules
You can also save Module Presets (.mnmprst) for a placed Poly Module. The preset captures every parameter inside the voice (and the Poly-level Voices and Note Priority) without changing the graph topology. This lets you snapshot sounds and step through them. See the Modules guide for the full preset workflow.
Use cases
- Polyphonic synths: build your own poly synth with custom oscillators, filters, envelopes, and effects per voice.
- Mono synths and basses: set Voices to 1 and pick the Note Priority that fits the playing style.
- Polyphonic effects: feed audio in, process it per voice with an envelope follower or pitch-tracker, useful for sample-based or granular treatments.
- Copies of an effect: no MIDI at all, and every voice runs on the incoming audio at once. Four voices with a chorus inside, its rate offset by Voice Stack's Spread, are four different choruses summed.
- Layered sounds: combine multiple Poly Modules in parallel to layer timbres.
- Performance instruments: expose a few key knobs on the Module front panel and play live.
Tips
- The Poly Module's panel works exactly like a regular Module's. Add widgets to the Module Front Panel to expose only the controls you want for performance.
- Voice Index is gold for detune and width: feed it through a tiny offset into oscillator pitch and you get different offsets for each voice.
- For a real unison, put a Parallel Module inside the voice and detune its copies by Voice Stack's Spread: every note then plays all the copies at once, and they detune the same way every time.
- Combine Voice Velocity with envelope amount or filter cutoff for natural keyboard dynamics.
- Use Voices = 1 + Stack Retrigger for vintage mono lead feel; Voices = 1 + Last Only for percussive mono basses.
- Long releases plus low Voices means voice stealing while tails are still ringing. Bump Voices if you hear cut-offs.
Check your first polyphonic patch
- Set Voices to
4and play a three-note chord. Watch the Inspector's voice rows: each held note should occupy a voice. - Release one key. Its envelope should release while the other notes continue.
- Turn a shared Knob. All voices should respond to that value.
- If every note has the same pitch, check that the oscillator is driven by MIDI To CV — Note Hz or Voice Pitch inside the voice.
- If notes sound indefinitely, check the Gate → Envelope → Volume Gain path. Use MIDI Panic for a stuck note, then repair the gate/envelope connection.
Keep master effects outside while learning. Once the voice works, save it as a Module and reuse it in another project.