Appearance
Modules
Modules are an enhanced version of Subgraphs that include their own built-in front panel. They let you create reusable, self-contained audio processing units with a custom control surface, like building your own plugin within MNodes.
Looking for polyphony?
For a polyphonic version of a Module, where the same voice plays several notes at once, see Poly Modules.
What is a Module?
A Module is a container node that holds an internal graph plus a dedicated front panel where you arrange widgets. From the outside, the Module node displays your custom panel directly in its body, showing knobs, sliders, meters, and any other widgets you've placed.
Think of Modules as the building blocks for creating custom instruments, effect chains, and utility tools, complete with their own user interface.
Modules vs Subgraphs
| Feature | Subgraph | Module |
|---|---|---|
| Internal graph | Yes | Yes |
| I/O ports (Audio, MIDI, Data) | Yes | Yes |
| Custom front panel (body) | No | Yes |
| Visible widgets in parent graph | No | Yes |
| Can be added to Front Panel | No | Yes (shows widgets only) |
| Preset format | .mnsubgraph | .mnmod |
| Keyboard shortcut | Ctrl/Cmd + G | Ctrl/Cmd + Shift + G |
Creating a Module
From selected nodes
- Select the nodes you want to encapsulate
- Press Ctrl/Cmd + Shift + G, or right-click and choose a grouping option
- The selected nodes are moved inside a new Module node
- Input/output ports are automatically created based on existing connections
From scratch
- Add a Module node from the Node Browser
- Double-click to enter the Module
- Build your internal graph with audio processing nodes and widgets
- Add widgets to the Module Front Panel (see below)
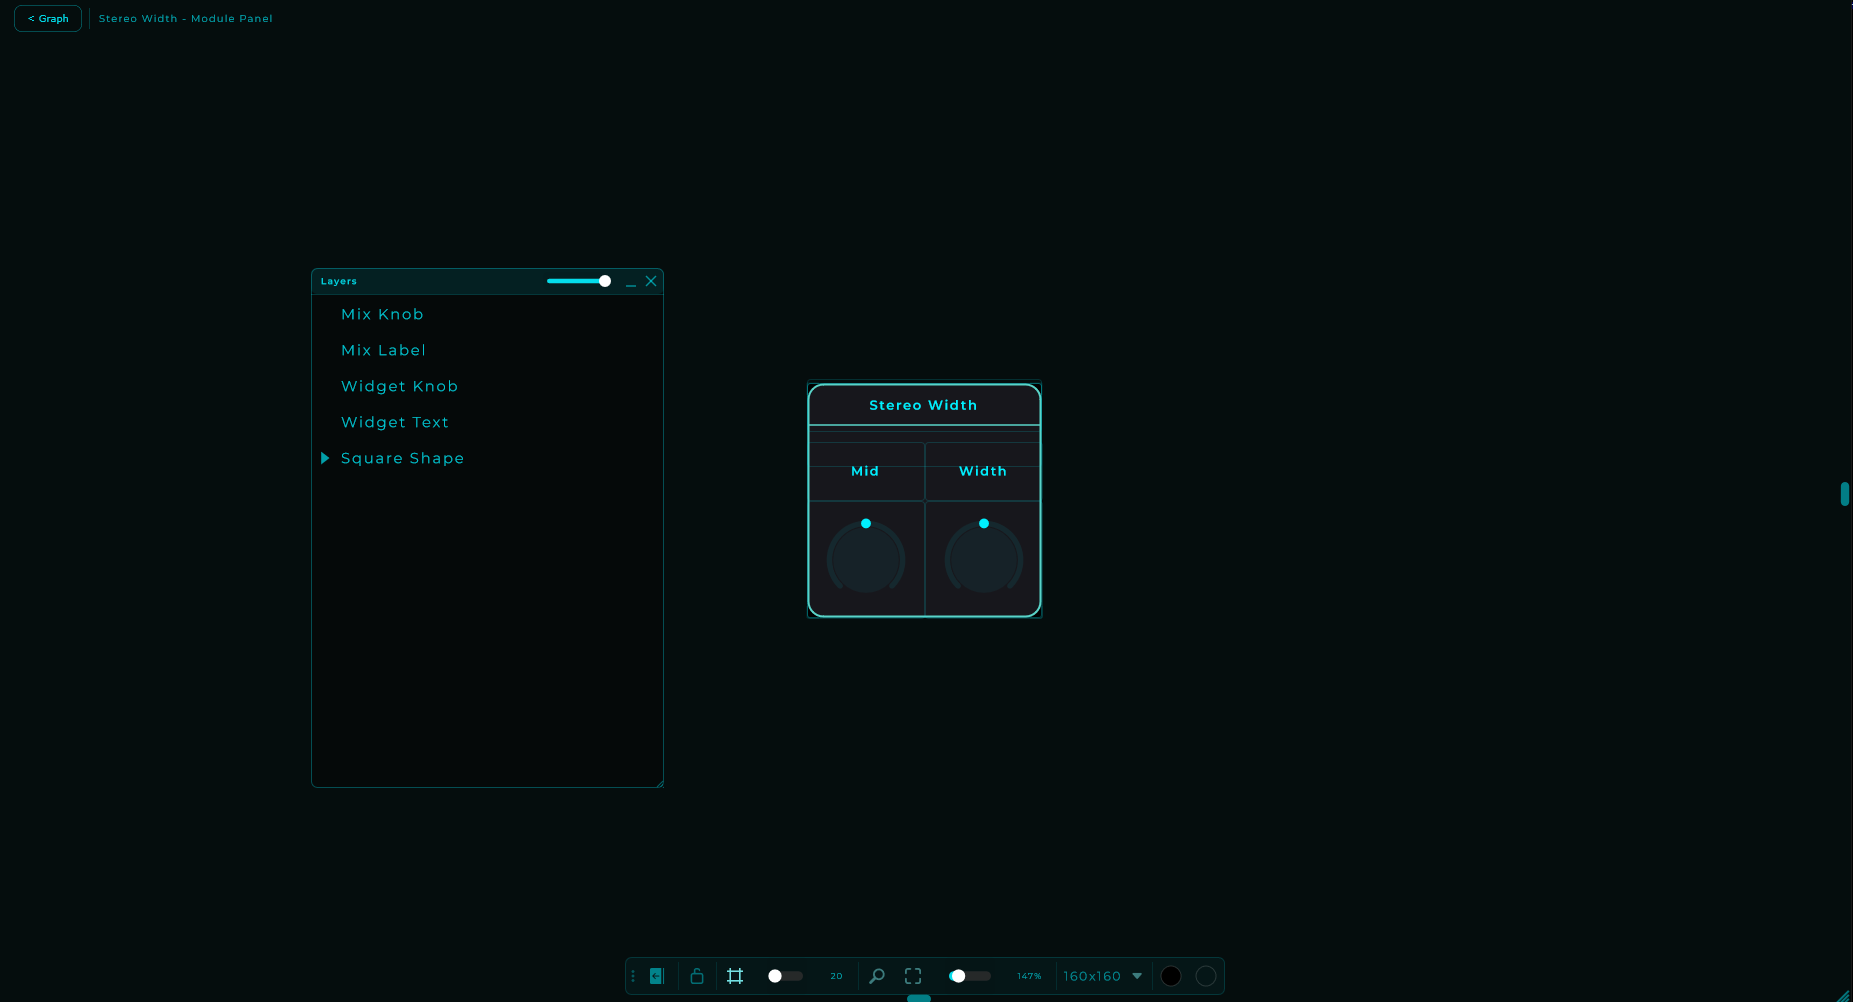
The Module Front Panel
Each Module has its own front panel: a canvas where you arrange the widgets that will be visible in the Module's body.
Opening the Module Front Panel editor
- Double-click the Module to enter it, or select it and press Enter.
- Click the Module Panel button (bottom-left corner).
- The graph view is replaced by the Module Front Panel editor.
- Click Graph to switch back to the graph view.
- Press Esc (or click the breadcrumb) to exit the Module and return to the parent graph.
Panel view state is remembered
Each Module remembers its own panel view: grid on/off, zoom level, background colour, toolbar state. Enter a Module, tweak the editor to how you like it, exit, come back later: it's exactly how you left it. Each Module keeps its own state independent of others.
Adding widgets to the Module Front Panel
- Inside the Module, right-click on a widget node
- Select Add to Module Panel
- The widget appears in the Module Front Panel
- Switch to Module Panel view to arrange it
You can also add widgets to the global Front Panel using Add to Front Panel. Both options are available simultaneously.
Editing the Module Front Panel
The Module Front Panel editor works exactly like the global Front Panel:
- Drag widgets to reposition them
- Resize widgets by dragging edges or corners
- Grid snap for precise alignment (toggle in toolbar)
- Zoom and pan the canvas
- Background color and grid color customization
- Panel dimensions: resize the panel by dragging its right edge, bottom edge, or corner
- Duplicate widgets with Ctrl/Cmd + D or right-click
- Delete widgets with Delete/Backspace or right-click
- Undo/Redo all panel editing actions
Panel Alpha
In the Inspector, the Module has a Panel Alpha parameter (under the "Module" category) that controls the transparency of the panel background in the body. Set it to 0 for a fully transparent background, or 1 for fully opaque.
How a Module Looks from Outside
The Module node in the parent graph displays:
- Header with the Module name and a "SUB" badge
- Pins on the sides (inputs left, outputs right), just like a Subgraph
- Body showing the Module Front Panel with all your widgets, scaled to fit
The body size automatically adjusts based on:
- The Module Front Panel dimensions (width and height)
- The number of pins (more pins = taller node)
Adding a Module to the Global Front Panel
Since a Module is also a panel widget, you can add it to the global Front Panel:
- Right-click the Module node in the graph
- Select Add to Front Panel
- The Module appears in the global Front Panel showing only its widgets (no header, no pins, no border)
This lets you build complex hierarchical control surfaces: a Module's widgets nested inside the main performance panel.
Saving and Loading Modules
Saving
- Right-click on the Module node
- Select Save As Module...
- Enter a name, category, author, and description
- Click Save
The Module is saved as a .mnmod file in Library/Modules/User/{Category}/. A PNG thumbnail of the panel is generated alongside it.
If a Module with the same name already exists, you'll be asked whether to replace it.
Editing Module Info
You can edit the metadata of a saved Module at any time:
- In the Node Browser → Modules section, right-click on a Module
- Select Edit Info...
- The Save Module panel opens with the existing name, category, author, and description pre-filled
- Make your changes and click Save to overwrite
Loading
Saved Modules appear in the Node Browser → Modules section with their thumbnail preview. You can:
- Drag and drop from the browser onto the graph
- Double-click to insert at the center of the view
- Right-click for Export, Export Module Pack, Edit Info, or Delete
Module folder
The default Module storage path is Library/Modules/. You can change this in Settings → General → Modules Folder.
Module Presets (per-instance state)
Once a Module is placed in your patch, you can save snapshots of every internal control as a Module Preset. This is different from saving the Module itself:
- Module file (
.mnmod) defines what the Module is (its inner graph and panel layout). Saved once when you build the Module. - Module Preset (
.mnmprst) captures the current values of every internal node inside an already placed Module. Topology stays the same, only parameter values change on apply.
Saving and applying
- Select the Module node in the graph (the parent graph, not its inside view).
- In the inspector, expand the Module Presets section.
- Tweak the Module's controls to taste, then click Save As... and give the preset a name.
- The preset appears in the list. Double-click to apply, or single-click then drag the prev/next/random controls of the inspector if you want to step through them. Click Overwrite to update the currently loaded preset.
Right-click a preset for Open, Export, Reveal in Explorer, Delete, and Import. Drag-and-drop a .mnmprst file onto the list to import it.
Where presets live
Module Presets are filed by Module title:
Library/Modules/Presets/User/<ModuleTitle>/<presetName>.mnmprst
Library/Modules/Presets/Factory/<ModuleTitle>/<presetName>.mnmprst
The list in the inspector only shows presets that match the title of the Module currently selected. A "Reverb II" preset will not show up while a "Compressor" Module is selected, even if both are in your library.
Importing a preset for a different Module
If you import a .mnmprst whose recorded module title does not match the Module you have selected, MNodes still files it correctly under its own folder and pops a short info notice telling you which Module it belongs to. Open an instance of that Module to see the preset listed.
Sharing Modules: Module Packs
Module Packs (.mnmodpack) are self-contained ZIP bundles that include everything needed to share a Module with other users:
- module.mnmod: the preset with all node configurations
- thumbnail.png: a visual preview of the Module panel
- files/: all external resources (audio samples, images, film strips, wavetables, etc.)
Exporting a Module Pack
From the graph:
- Right-click on a Module node
- Select Export Module Pack...
- Choose a destination and filename
- The
.mnmodpackfile is created with all resources included
If the Module hasn't been saved yet, the Save Module panel will open first so you can add metadata.
From the browser:
- In the Node Browser → Modules section, right-click on a saved Module
- Select Export Module Pack...
- Choose a destination
Importing a Module Pack
Simply drag and drop a .mnmodpack file onto the graph canvas. MNodes will:
- Extract the Module preset and thumbnail to
Library/Modules/User/{name}/ - Extract all resources to a
files/subfolder - Remap all file paths so resources are found at their new location
- Create a Module node with everything connected and working
The imported Module also appears in the Node Browser for future use.
What gets collected
Module Packs automatically collect all external files referenced by nodes inside the Module:
| Resource type | Examples |
|---|---|
| Audio files | Samples in AudioPlayer, Granular, SampleMap |
| Images | Widget Image backgrounds, Button on/off images |
| Film strips | Widget FilmStrip knob/slider skins |
| Wavetables | Wavetable oscillator files |
| Scale files | Micro-tuning SCL files |
| Pattern files | Pattern sequencer data |
Nested subgraphs and modules inside the Module are also scanned recursively, so no resource is left behind.
Nesting Modules
Modules can contain other Modules: the nesting is fully recursive:
- Audio, MIDI, and Data flow through all levels
- Each nested Module has its own front panel
- A parent Module can show a nested Module's widgets in its own panel by adding the nested Module to its Module Front Panel
Use Cases
- Custom instruments: Oscillator + filter + envelope + XY pad, all in one Module with a performance-ready panel
- Channel strips: Gain + EQ + compressor + meter, with faders and meters visible in the body
- Effect racks: Chain multiple effects with knobs for key parameters exposed on the panel
- Reusable building blocks: Save frequently used configurations as Module presets and share them
- Performance interfaces: Build entire performance surfaces by nesting Modules in the global Front Panel
Tips
- Use the Panel Alpha parameter to blend the Module background with the graph or make it fully transparent
- Resize the Module Front Panel canvas by dragging its edges: it can go as small as 10x10 pixels
- Widget minimum size in the panel is 10x10, allowing very compact layouts
- The Module Front Panel size determines the body size in the parent graph
- All Front Panel features (grid, zoom, colors, duplicate, undo) work identically in the Module Panel editor